Destinations
Inbound destinations are the DID/DDI, DNIS, or Alias for inbound calls. Click here for the YouTube video
Configure Inbound Destinations
(This will auto-configure an Inbound Route also)
Tip
Outbound destinations can be created also.
Select Dialplan from the drop-down list and then click Destinations.
To add a destination, click on the plus button on the right.

Note: Image scaled to 60% in original.
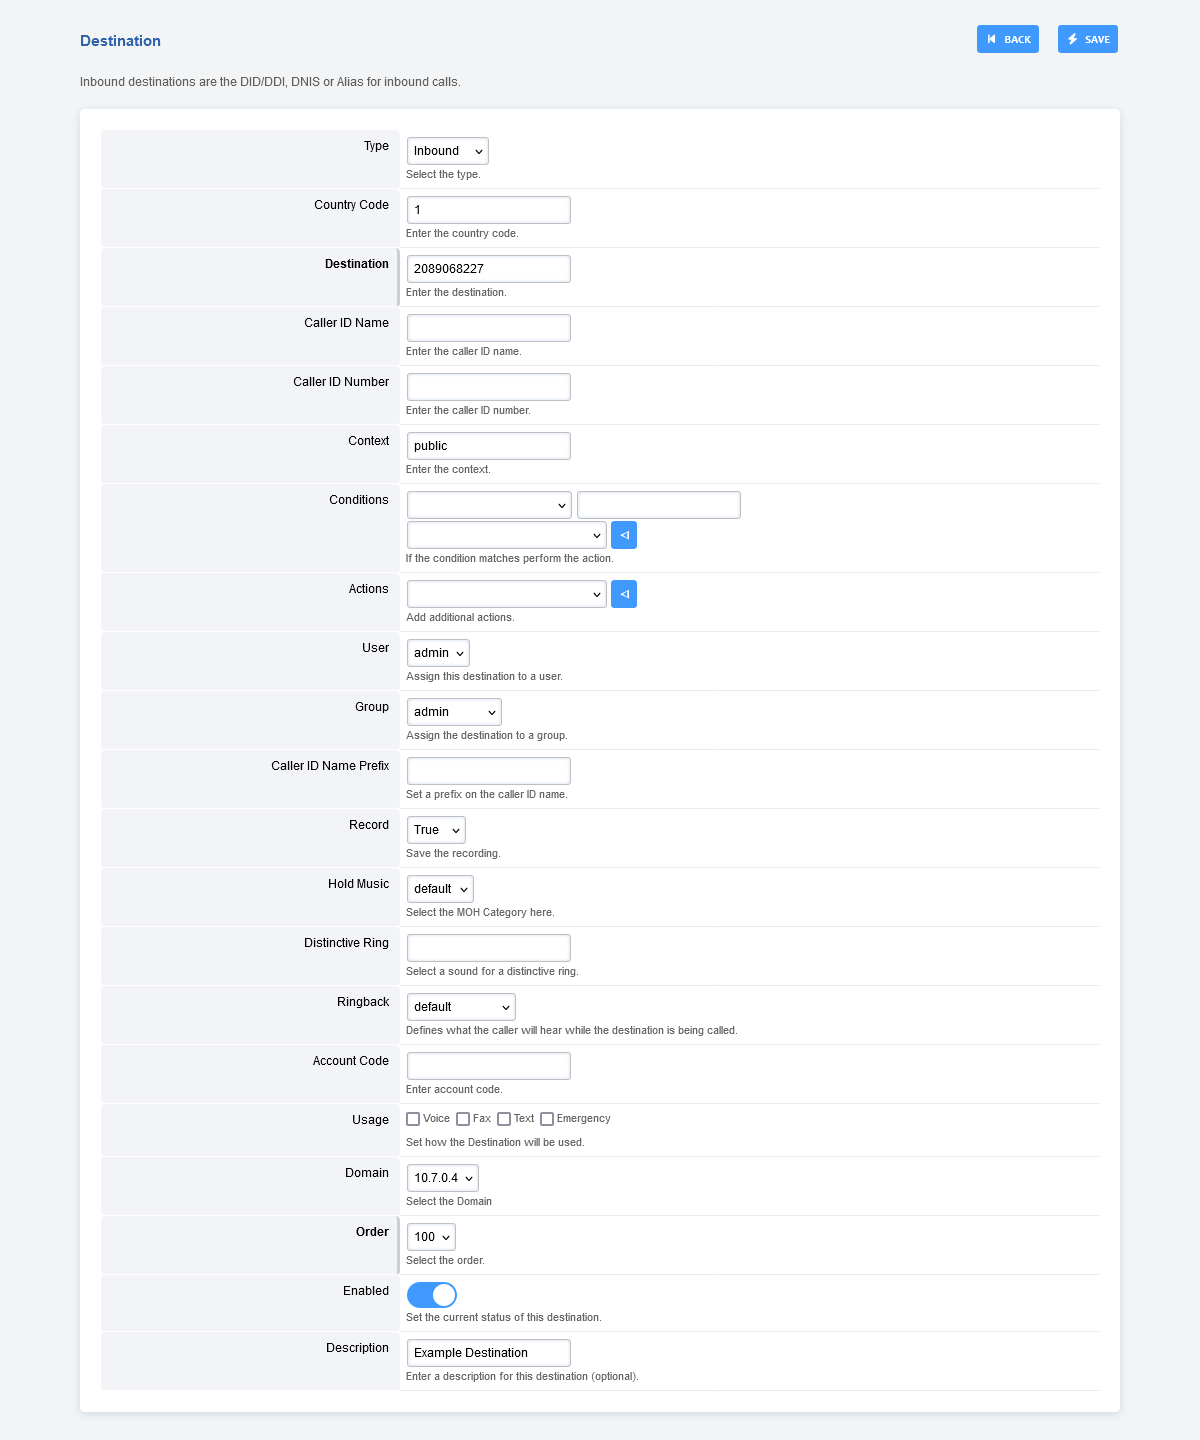
Enter the route information below and click Save once complete.
Note: Image scaled to 60% in original.
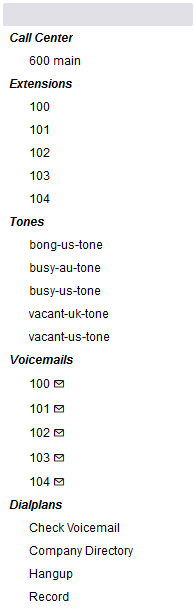
Examples of options under Actions and Conditions.
Note: Image scaled to 85% in original.
Type: Inbound or Outbound. Choose if this is an inbound destination or outbound destination.
Destination: This is usually the DID a caller will call.
Context: This will usually be public.
Actions: Choose where the call will go after it enters FusionPBX.
Dialplans can also be used as an action. To enable a dialplan to be visible, go to Dialplan > Dialplan Manager and edit a dialplan. Select True from the Destination field and click save. This applies to dialplans that have a value in the Number field.
Caller ID Name Prefix: Adds a name to the Caller ID that will display to the endpoint and call detail records.
Record: Record all calls made to the destination.
Account Code: Used in some billing systems.
Domain: The domain can be global to all domains or domain-specific.
Enabled: Enabled will enable the destination, or Disabled to disable the destination.
Description: A way to label and organize what the destination is for.
Inbound Routes
Once a Destination is created, an inbound route is also created. Click here to view more about Inbound Routes.
Note
Optional: Replace ^(?:\+?1)?(\d{10})$ in Inbound Routes with either 0123456789 or a DID Number depending on the Route Destination setting.