Fax Server
To receive a FAX setup a fax extension and then direct the incoming to it. Click here for the Youtube video
Be sure to install the FAX Queue service. The install commands are located in the FAX Queue document.
This is essential for your FAX Server to work.
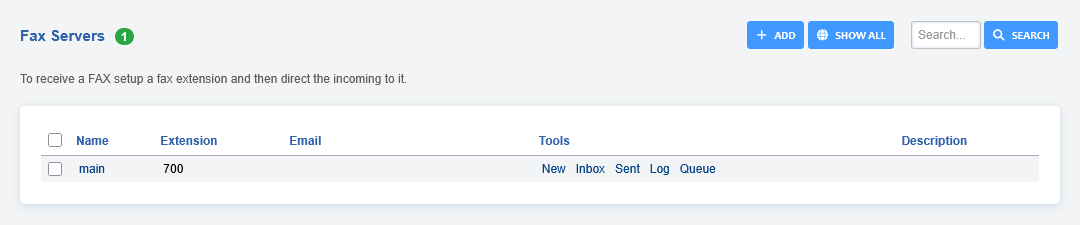
New: Create a new fax to send.
Inbox: Faxes received.
Sent: Faxes sent.
Log: Sucessful and failed attempts for both inbound and outbound.
Queue: Shows the faxes in queue.
Fax Server Settings
There are more settings for fax under Advanced > Default Settings then under category, select Fax.
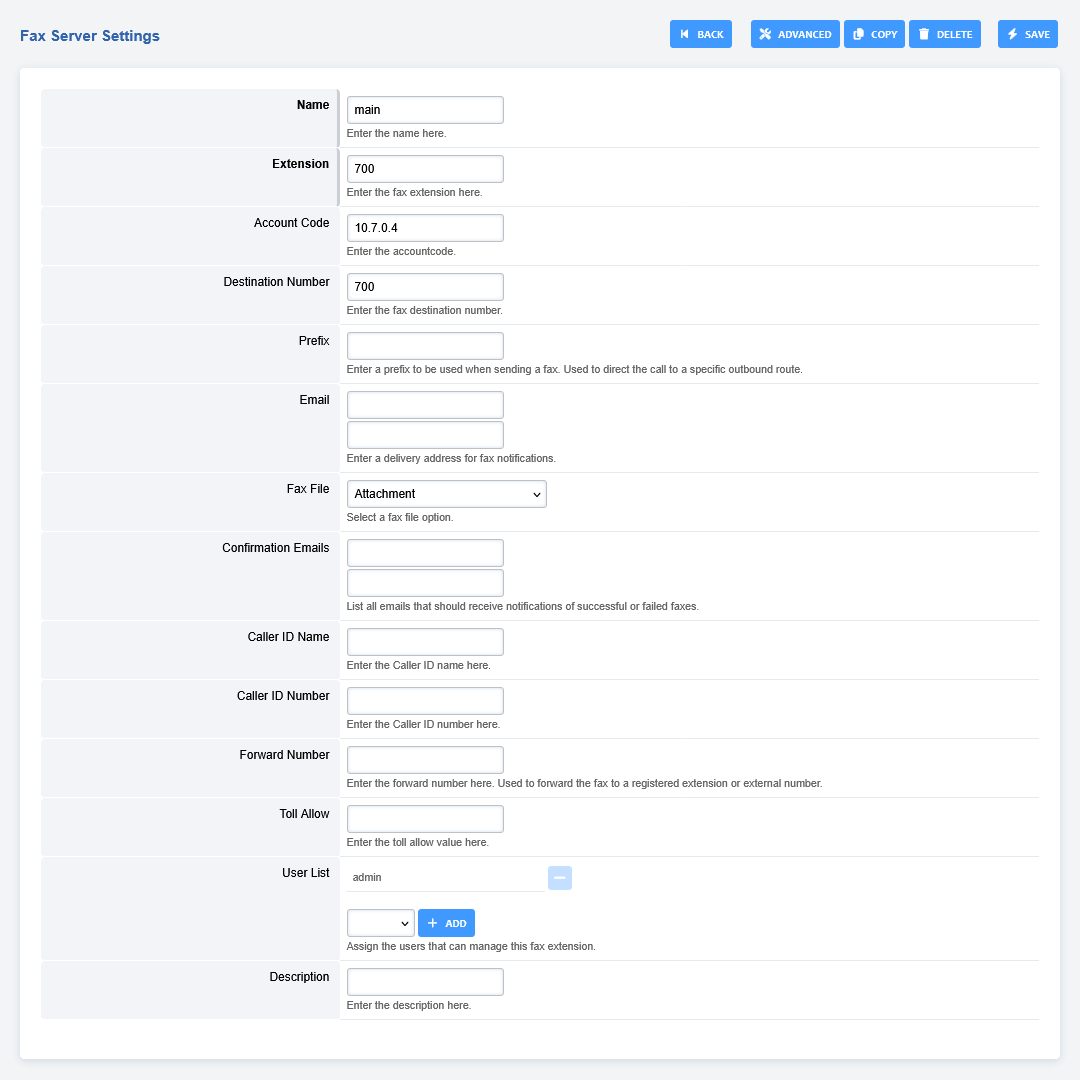
To create a fax server goto Applications > Fax Server. Click the “ADD” button on the right.
Note: Make sure you leave the Destination Number blank or faxing wont work. All fields in bold are required.
It is also good practice accross FusionPBX to stay organized, so define the name and chosen extension thoughtfully.
Account Code: This item will autofill.
Destination Number: This is used in the Fax Server Dial Plan and is set based on the fax server internal extension number.
Extension: Creates an extension for this Fax Server.
Prefix: Can be defined when sending a fax.
Email: This will be for inbound faxes, these will be on the server and sent to the defined emails.
Fax File: Option to attach files for faxing.
Confirmation Email: This sends notifications to your listed emails you when a fax has Completed or Failed.
Caller ID Name/Number: Pretty self explanatory, this will display the defined ID name and number when faxing.
Forward Number: Forward the fax to a an extension or external number.
Toll Allow: Enter your toll allow value here.
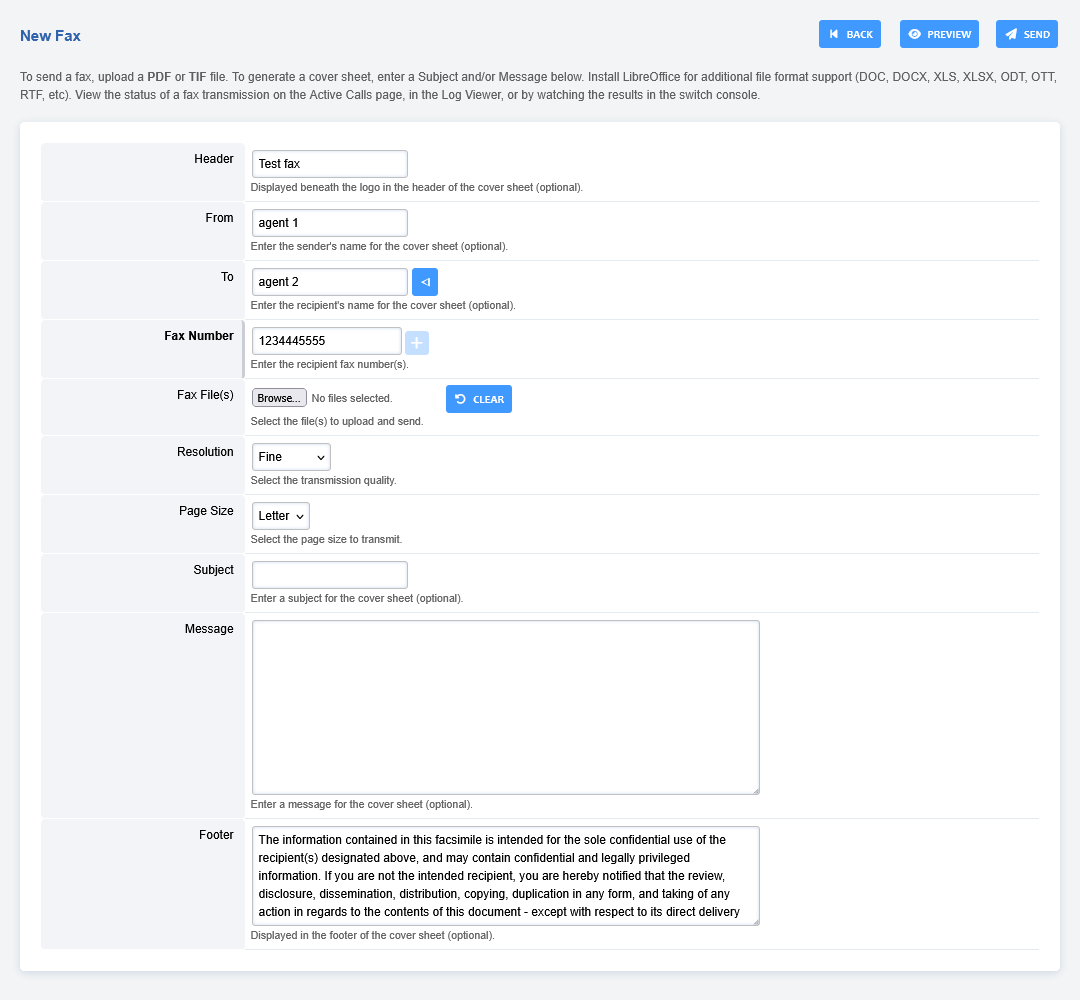
New
To send a fax, the items in bold are required. To send a proper fax it is best to fill out all fields and attach any documents. Keep in mind that the upload max MB is limited by Nginx and PHP config files.
Inbox
Click PDF to view the fax or right click on PDF and left click on Save Link As. If you defined and email address in the email field you will receive the fax also to that email address.

Sent
Click PDF to view the fax or right click on PDF and left click on Save Link As.

Fax ATA
To connect to a fax machine with an ATA you will most likely need to adjust settings in the ATA web interface and in FusionPBX.
Create an extension for the FAX machine. You can optionally set bypass media to true under advanced in the extension settings.
FAX Default Settings
Menu > Advanced > Default Settings then select category “Fax”
Variables are used as defaults for the dialplan for sending and receiving faxes

fax_enable_t38_request=false (Can be true or false)
ignore_early_media=true (Can be true or false)
Some carriers it’s better for fax_enable_t38_request=true and for some its better for it to be false.
It’s best not to make an assumption and to do testing with different settings to get the best results for your particular carrier.
The variable fax_enable_t38_request=false will send a T38 reinvite when a fax tone is detected. In some cases the re-invite always fails for some carriers which is why it is default to false.
Troubleshooting Tips
Faxing will fail at times. Fax Server should automatically try different methods for sending. There are different combinations like;
With T-38 on/off
ECC on/off
Sending a wav file
Send a fax to HP faxback. This will test sending and receiving 1-888-473-2963
Test sending with Faxtoy.net This will display what is faxed on their website. 1-855-330-1239 or 1-213-294-2943
Turn on verbose log in FreeSWITCH fax.conf.xml
From your FusionPBX installation go to ADVANCED > XML Editor and a new window will open.
Choose autoload_configs folder from the list, then choose fax.conf.xml.
In fax.conf.xml there is an option that by default sets a variable called verbose = false. If you change this to true you get more logging details as the fax is actually received, such as the quality of the connection etc.
You can see these details when you run the freeswitch command line ie. fs_cli
Command Line Fax Statistics
Grep from ssh or console access your freeswitch.log files for FAX_RETRY_STATS to start keeping track of success/failure. Examples
Here’s how you can get some totals.
Total:
cat freeswitch.log |grep FAX_RETRY_STATS |wc -l
Success:
cat freeswitch.log |grep FAX_RETRY_STATS |grep SUCCESS |wc -l
Failures:
cat freeswitch.log |grep FAX_RETRY_STATS |grep FAIL |wc -l